As cryptocurrency adoption continues to rise, securing digital assets has become more important than ever. Online wallets and exchanges are convenient, but they remain vulnerable to hacking, phishing, and data breaches. For users who want full control and maximum protection, hardware wallets are the best solution. Trezor is one of the most trusted hardware wallet brands in the world, offering strong security and easy usability.
If you’ve purchased a Trezor device, the first step to secure usage begins at Trezor.io/start. This official setup portal guides you through installing trusted software, initializing your device, and protecting your recovery phrase. This guide explains everything you need to know to safely set up and use your Trezor wallet.
Trezor.io/start is the official onboarding page for Trezor hardware wallets, including Trezor Model One and Trezor Model T. It ensures users download authentic Trezor Suite software, verify device integrity, and complete wallet setup securely.
Using this page protects you from phishing websites, counterfeit apps, and malicious firmware that could compromise your funds. It guarantees your wallet setup follows Trezor’s official security standards.
Trezor wallets store private keys offline inside secure hardware, keeping them isolated from internet-connected devices. Even if your computer or phone is compromised, your crypto assets remain protected. All transactions must be physically confirmed on the Trezor device, adding an extra layer of security.
Key benefits of Trezor wallets include:
These features make Trezor ideal for both beginners and experienced crypto users.
Before visiting Trezor.io/start, make sure you have:
Never store your recovery seed digitally or share it with anyone. Anyone with access to this phrase can control your funds.
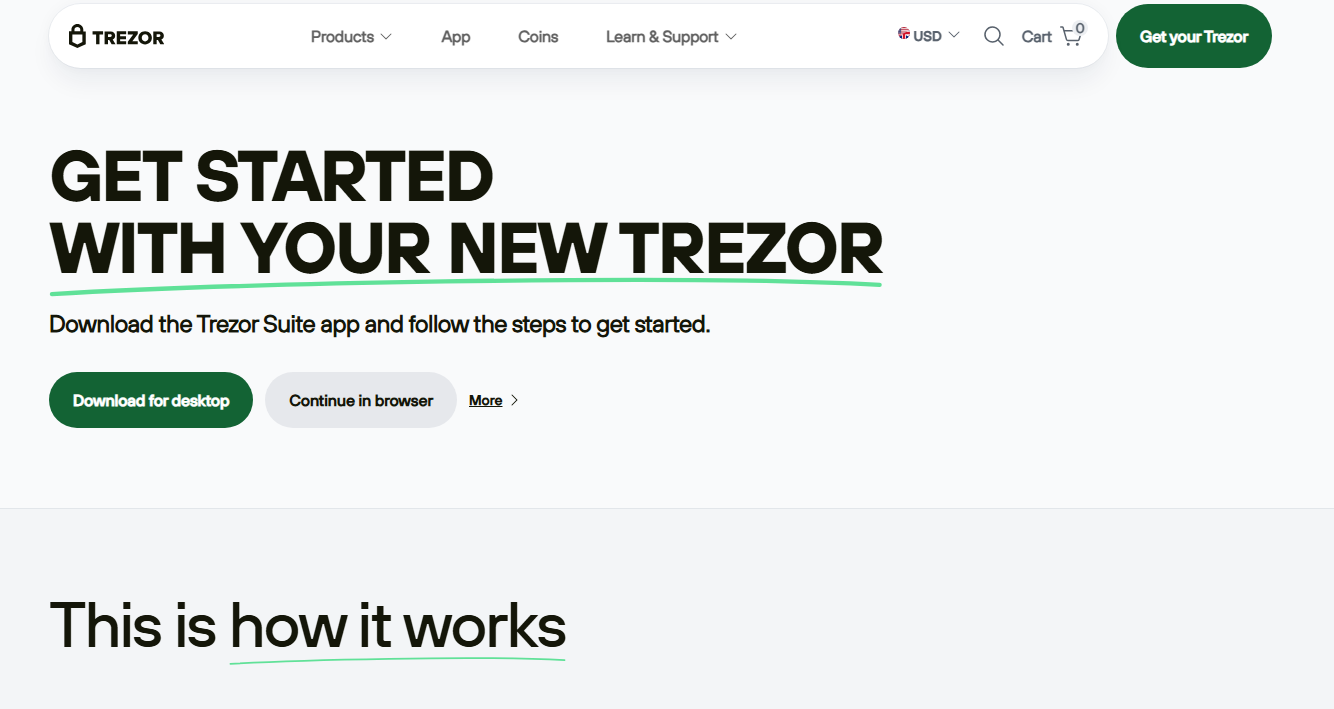
Open your browser and type Trezor.io/start directly into the address bar. Avoid clicking ads or unfamiliar links to prevent phishing. Once on the page, choose your Trezor model to begin setup.
Trezor Suite is the official desktop and web app used to manage your wallet. Download the correct version for your operating system and complete the installation process.
Once installed, launch Trezor Suite and select “Create new wallet.”
Plug your Trezor device into your computer using the USB cable. Trezor Suite will detect your device and guide you through the next steps.
If prompted, install the latest firmware to ensure your wallet has the most up-to-date security features.
After firmware installation, choose the option to create a new wallet. Your Trezor device will generate a recovery seed that serves as the backup for your wallet.
This process happens entirely on the device, ensuring your private keys never touch the internet.
Your Trezor will display a 12-word or 24-word recovery seed. Write each word down carefully in the correct order.
Security rules:
This seed is the only way to recover your wallet if your device is lost, damaged, or reset.
Your device will ask you to verify the recovery seed by selecting the correct words in order. This ensures you’ve written it down accurately.
Once confirmed, your wallet setup is complete.
Next, you’ll be prompted to create a PIN code. This protects your wallet from unauthorized physical access.
Choose a strong PIN and never share it. You’ll need it every time you connect your Trezor device.
Using Trezor Suite, you can add accounts for Bitcoin, Ethereum, and many other supported cryptocurrencies. You can now safely send, receive, and store digital assets using your Trezor wallet.
Trezor Suite acts as your central hub for crypto management. Through it, you can:
All transactions must be confirmed on your Trezor device, ensuring maximum security.
To keep your funds safe, follow these essential security tips:
Trezor will never ask for your recovery seed.
Here are a few common problems and how to solve them:
Trezor’s official support resources provide detailed troubleshooting help.
Trezor.io/start ensures you’re using genuine Trezor software and following trusted setup procedures. It protects you from phishing attacks, counterfeit firmware, and malicious downloads.
Starting here gives your wallet strong security from day one.
Trezor.io/start offers a safe and reliable way to initialize your Trezor hardware wallet. From installing Trezor Suite to securing your recovery seed and managing assets, every step is designed with protection and simplicity in mind. Whether you’re storing Bitcoin, Ethereum, NFTs, or altcoins, Trezor provides one of the most trusted solutions for crypto storage.
By following this guide, you can confidently secure your digital assets and take full control of your crypto future with Trezor.